How it works in short
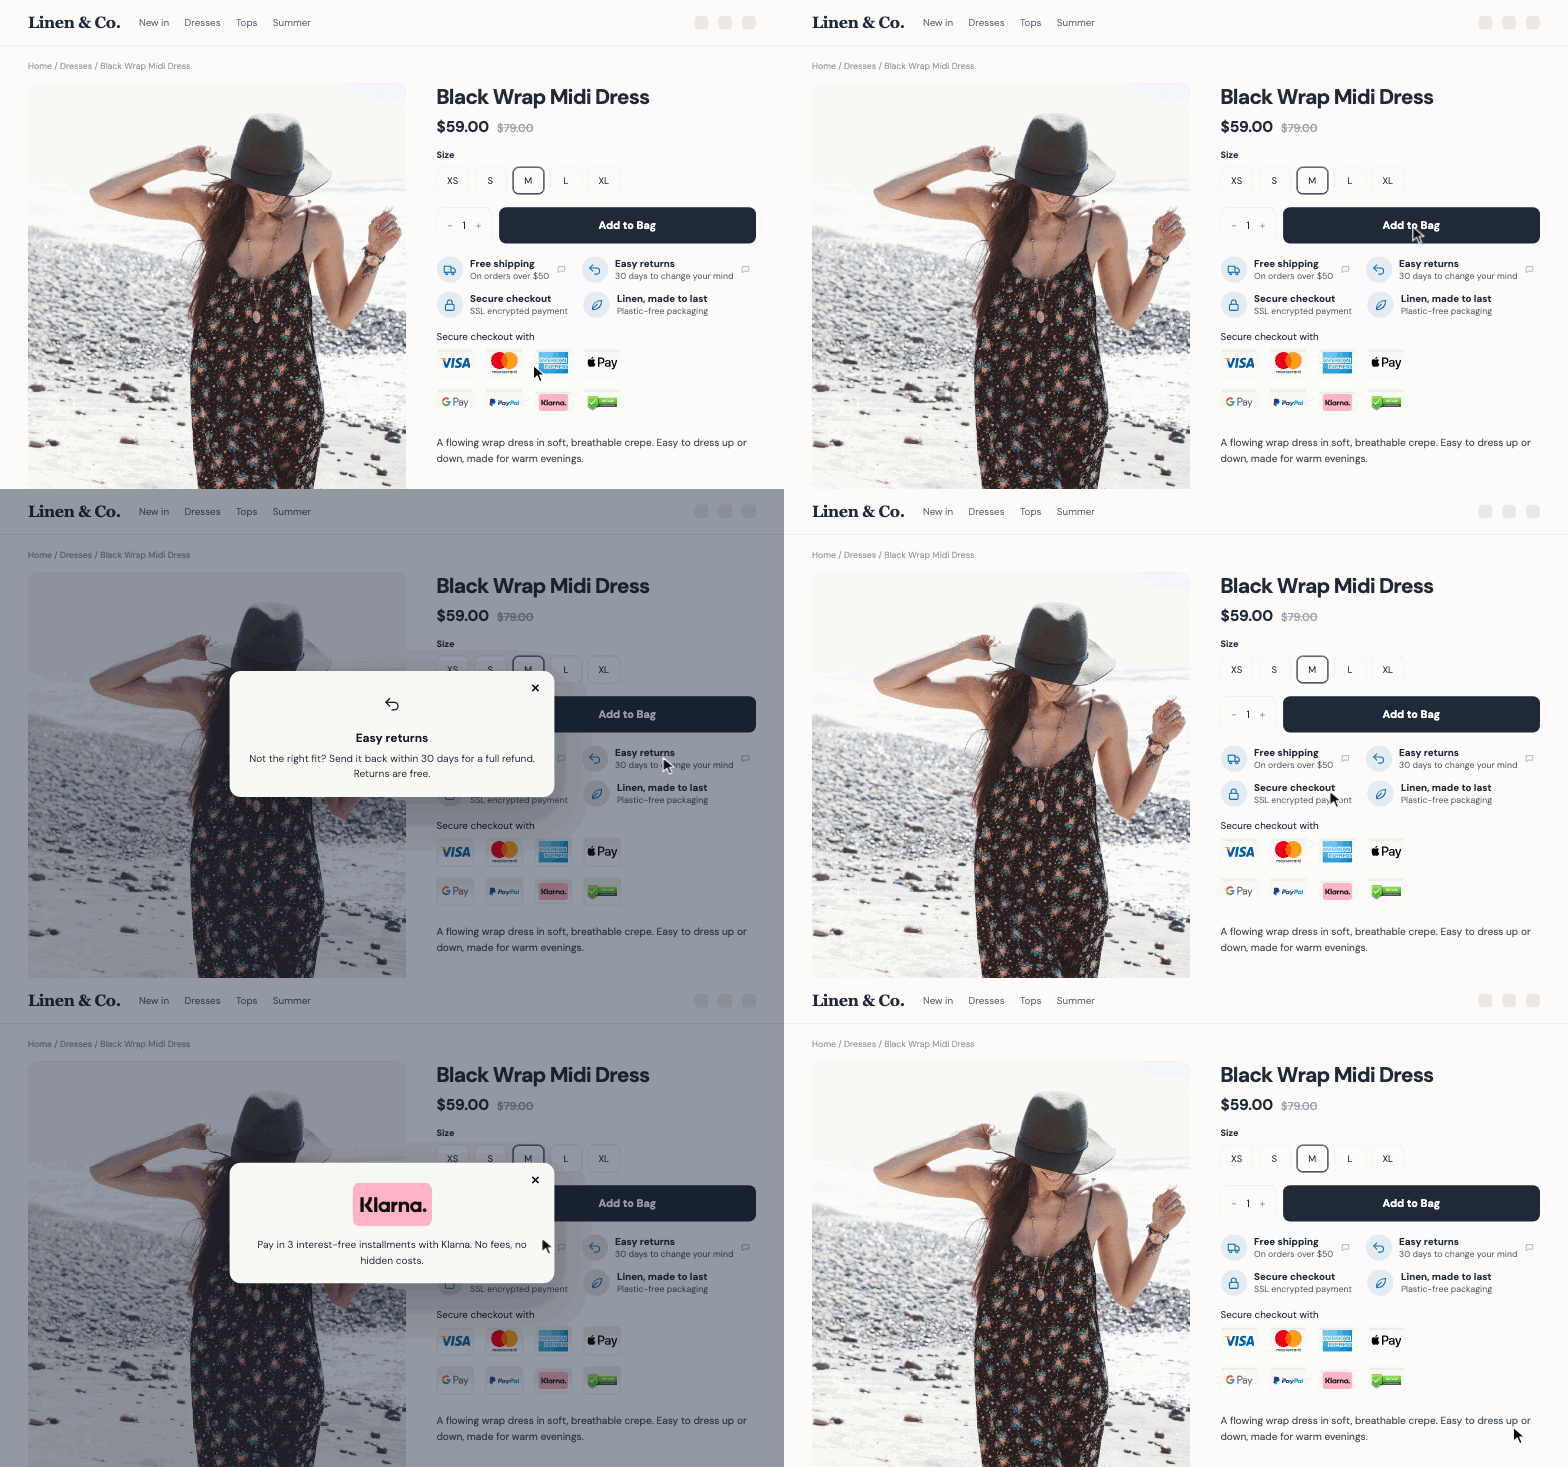
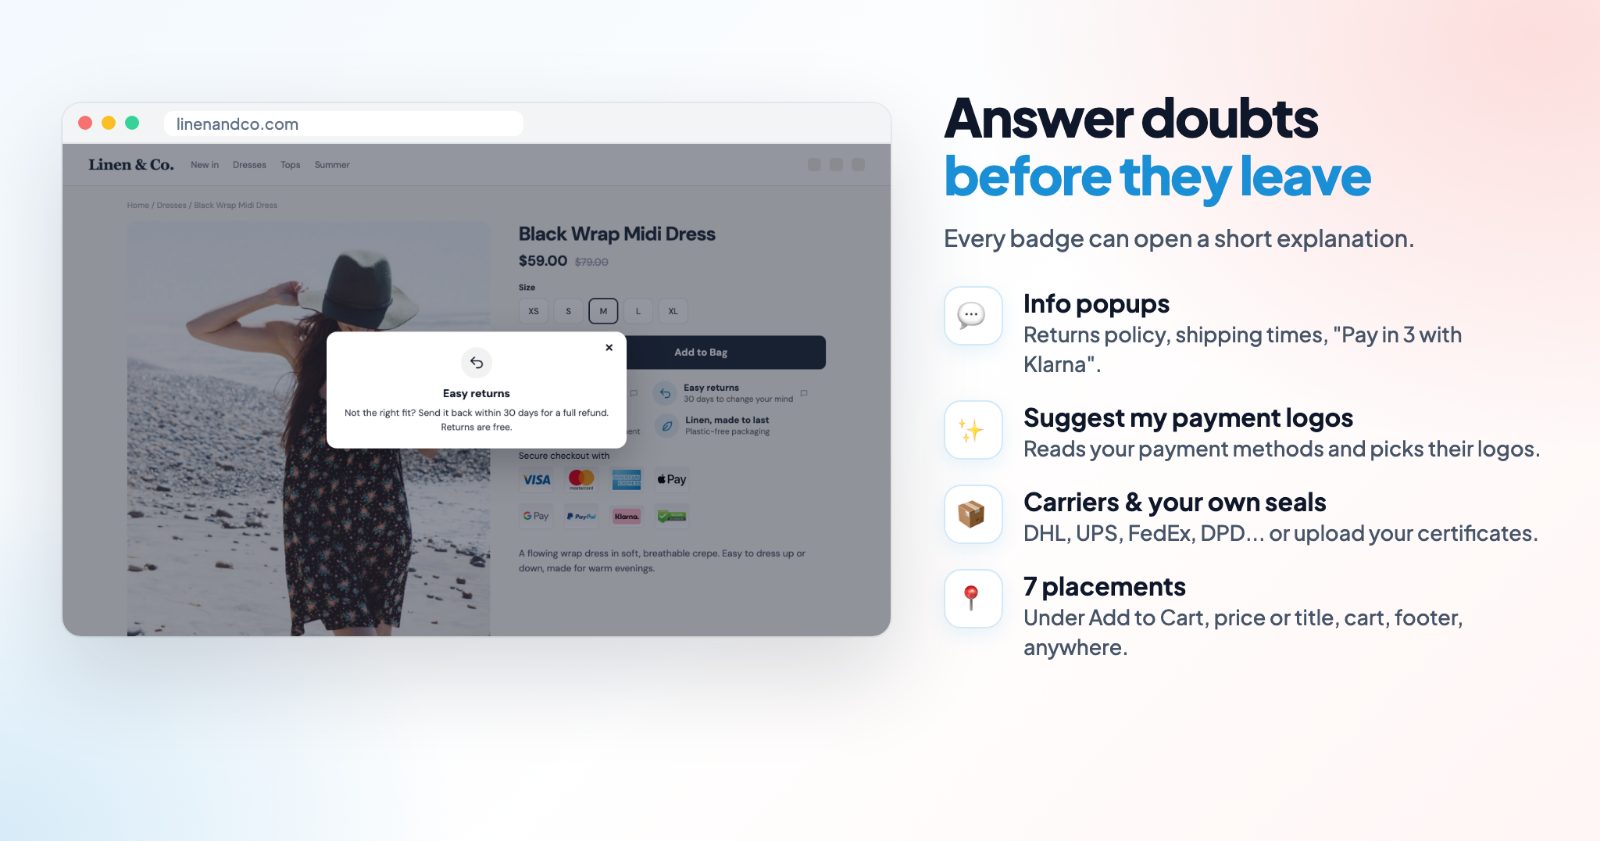
The app adds badge blocks to your store. A block is either a row of payment & trust logos (Visa, PayPal, Klarna, DHL, an SSL seal...) or guarantee icons with text ("Free shipping - On orders over $50"). Each block has its own place: under the Add to Cart button, under the price, in the cart, in the footer and more. You can add several blocks, and any badge can open a short popup that explains it.
The badges are pictures and text only. They don't change your checkout: show the payment methods and promises your store really offers.
What to show
A shopper who is about to pay usually has three questions. Answer each one with a badge:
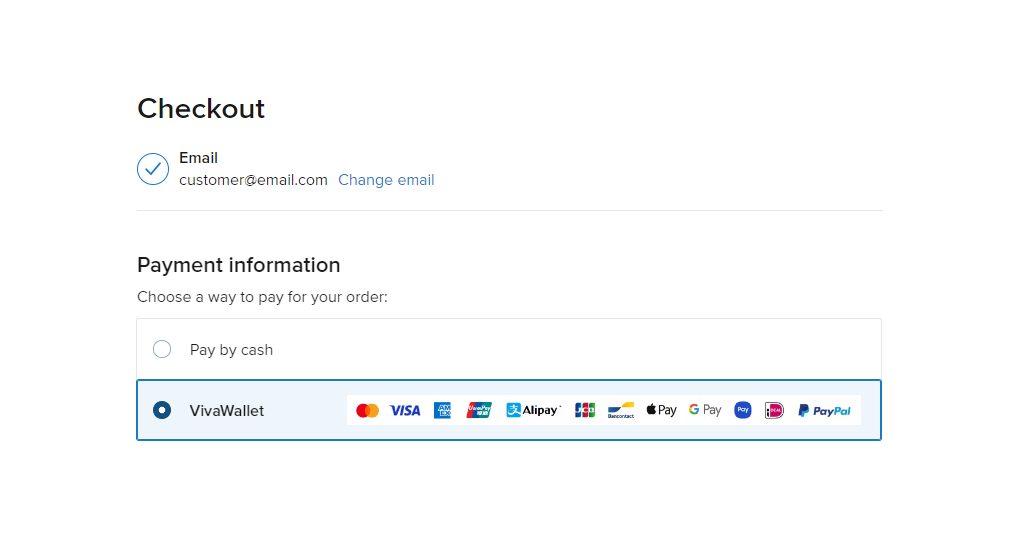
- "Can I pay the way I want?" Show the logos of the payment methods your checkout really accepts: cards, wallets like Apple Pay or PayPal, and pay-later options like Klarna. A logo for a method you don't offer does more harm than no logo.
- "What if it doesn't fit or arrives late?" Say it in a few words: free shipping over an amount, easy returns, when orders ship. These are your own promises, so write them the way your store policy says them.
- "Is this store safe?" A secure checkout or SSL badge near the buy button, and your own seals or certificates if you have them.
Keep it short. Five or six payment logos and three or four promises are easier to read than a wall of badges.
1. Open the app and look at the first block
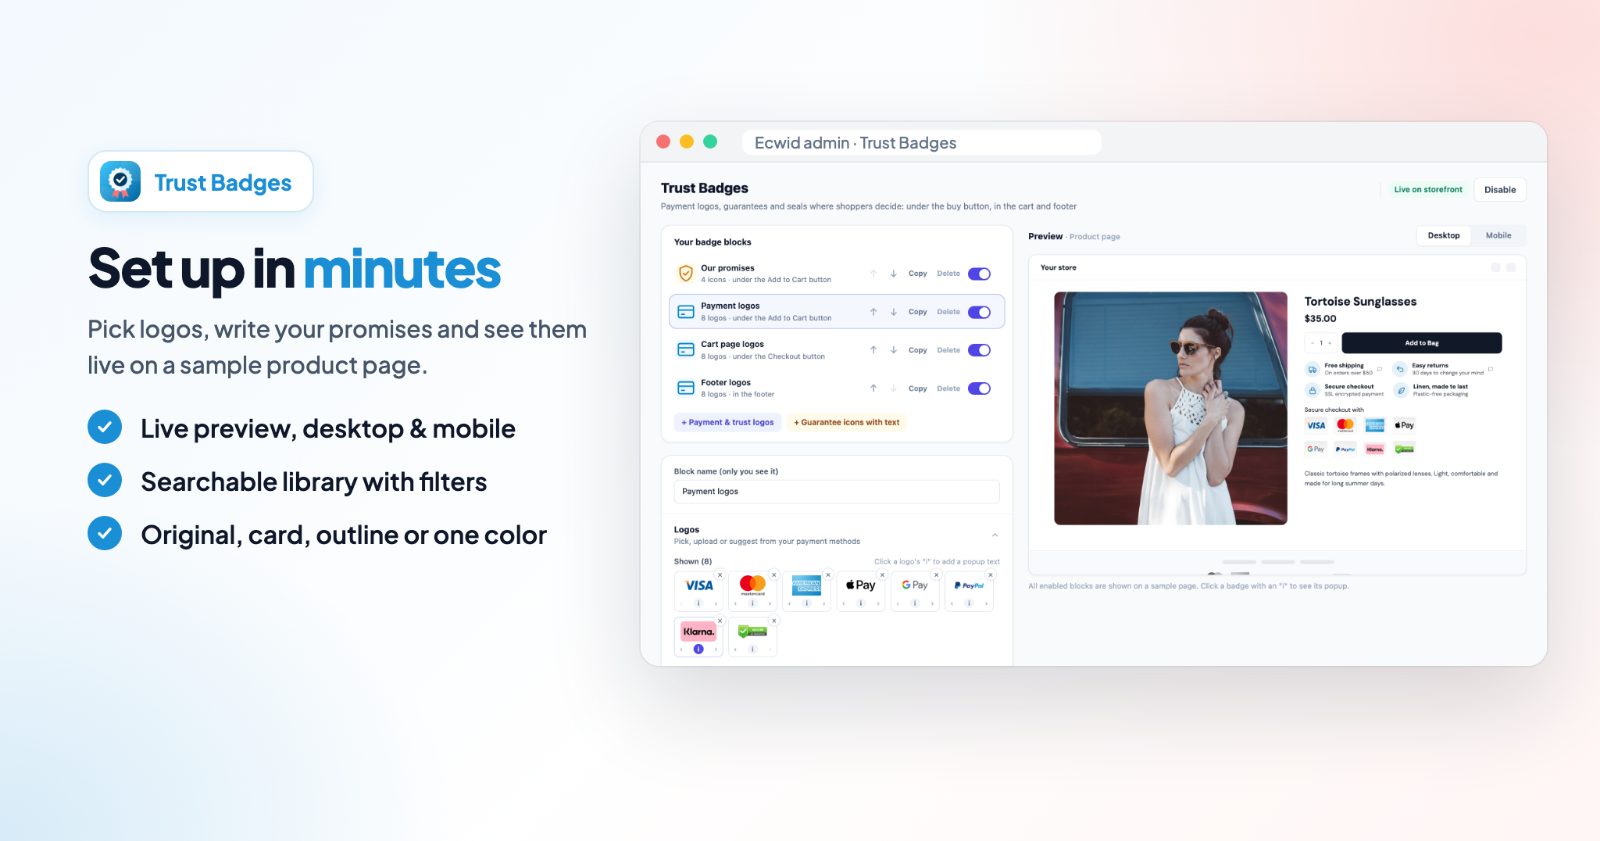
When you open the app for the first time, it has already added a first block of payment logos under your Add to Cart button. Nothing shows in your store yet: change the block to fit your store, then click Enable.
On the left is Your badge blocks, the list of blocks. Each one has a switch to turn it on or off, Copy to duplicate it, Delete, and arrows to change the order of blocks that show in the same place. On the right, the Preview shows all enabled blocks on a sample product page, on Desktop or Mobile.
2. Pick your payment badges (Logos)
Click a block of payment logos. Under Logos you have three ways to fill it:
- Suggest from my payment methods reads the payment methods enabled in your store and picks their logos for you (for example Stripe adds the card logos, Apple Pay and Google Pay).
- The library: search 460+ logos by name ("visa", "klarna", "dhl", "money back") or filter by Cards, Wallets, Pay later, Crypto, Shipping, Guarantees and Banks & local. Click a logo to add or remove it.
- Your own images: upload your certificates, awards or local payment methods. They are kept under Your uploads for every block.
The logos you picked are listed under Shown. Use the arrows to put the most familiar ones first. Click a logo's "i" to add a popup text, for example "Pay in 3 interest-free installments with Klarna."
3. Write your promises (Guarantee icons with text)
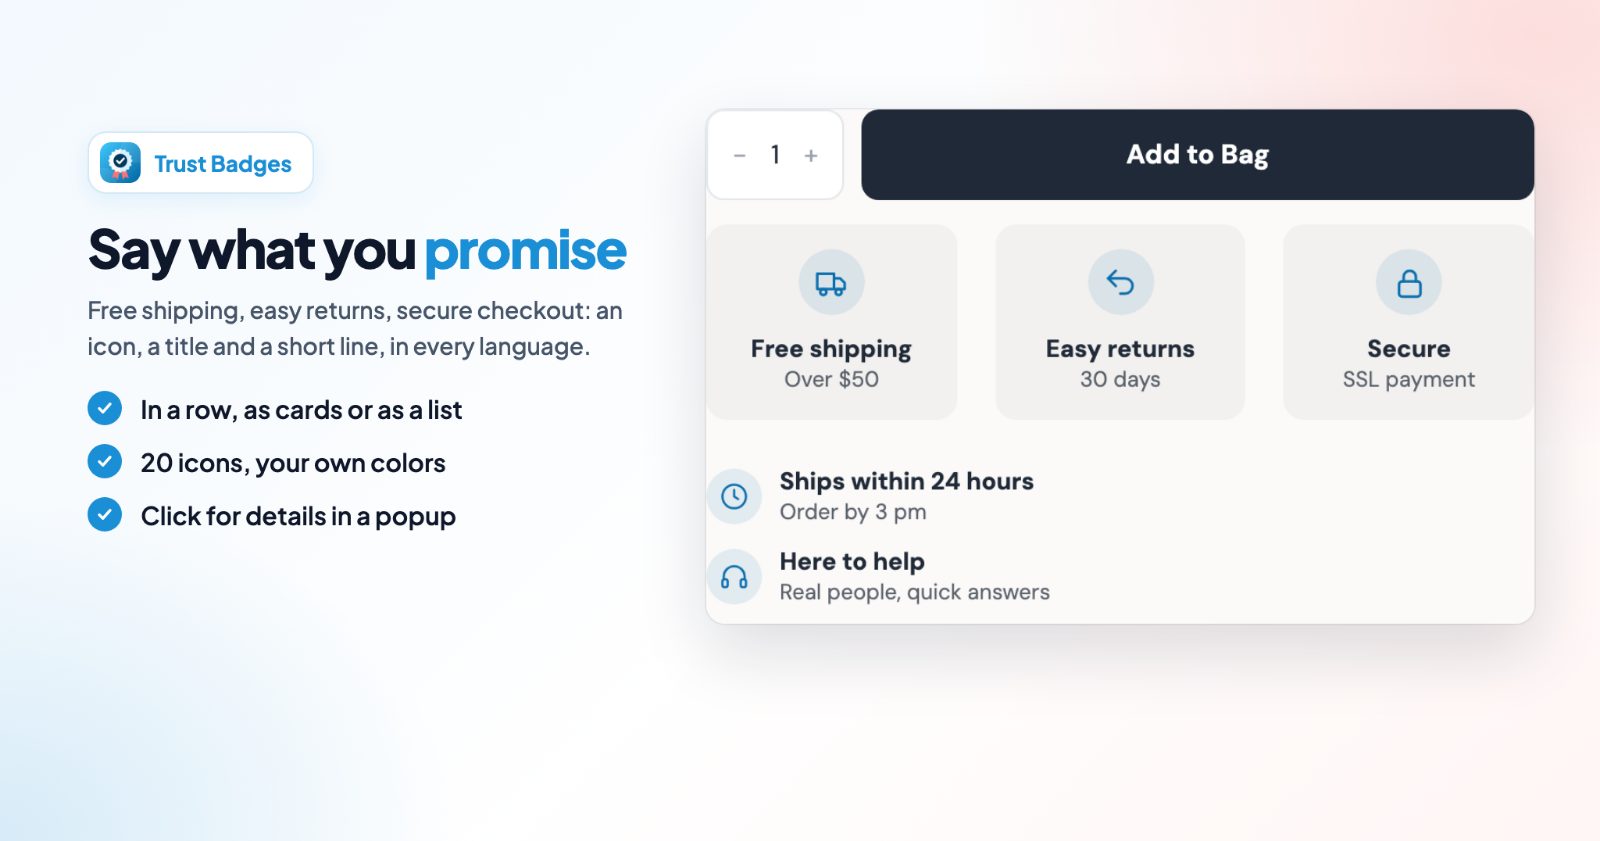
Click + Guarantee icons with text. Each row has an icon, a title and a small text. The Add buttons give you ready rows to edit: Free shipping, Easy returns, Secure checkout, Here to help, Quality guarantee, Fast dispatch, Eco friendly and Gift wrapping, or + Your own. Click the icon to choose another one.
Open Popup text when clicked (optional) to add the details, for example "Return any item within 30 days for a full refund. Just reply to your order email." Shoppers get the answer without leaving the product page.
Under Look, the Layout is In a row, Cards or List, with your own colors for the icons, the text and the cards.
4. Choose where it shows
Under Where it shows, pick the Placement of the block:
- Product page: under the Add to Cart button - the best place for payment logos.
- Product page: under the price or under the product name - good for one short promise like free shipping.
- Product page: after the description.
- Cart page: under the Checkout button - the last moment before checkout.
- Every page: in the footer.
- Custom: next to an element you choose - enter a CSS selector and a Position (before it, after it, or inside at the start or end).
Several blocks can share a place. For example, guarantee icons and then payment logos, both under the Add to Cart button.
5. Match your store's look
For logos, Style is Original, Card, Outline, One color or One color card. One color is a calm choice when many colorful logos would look busy. Set Size on computers and Size on phones separately, plus Alignment, Space above and Space below.
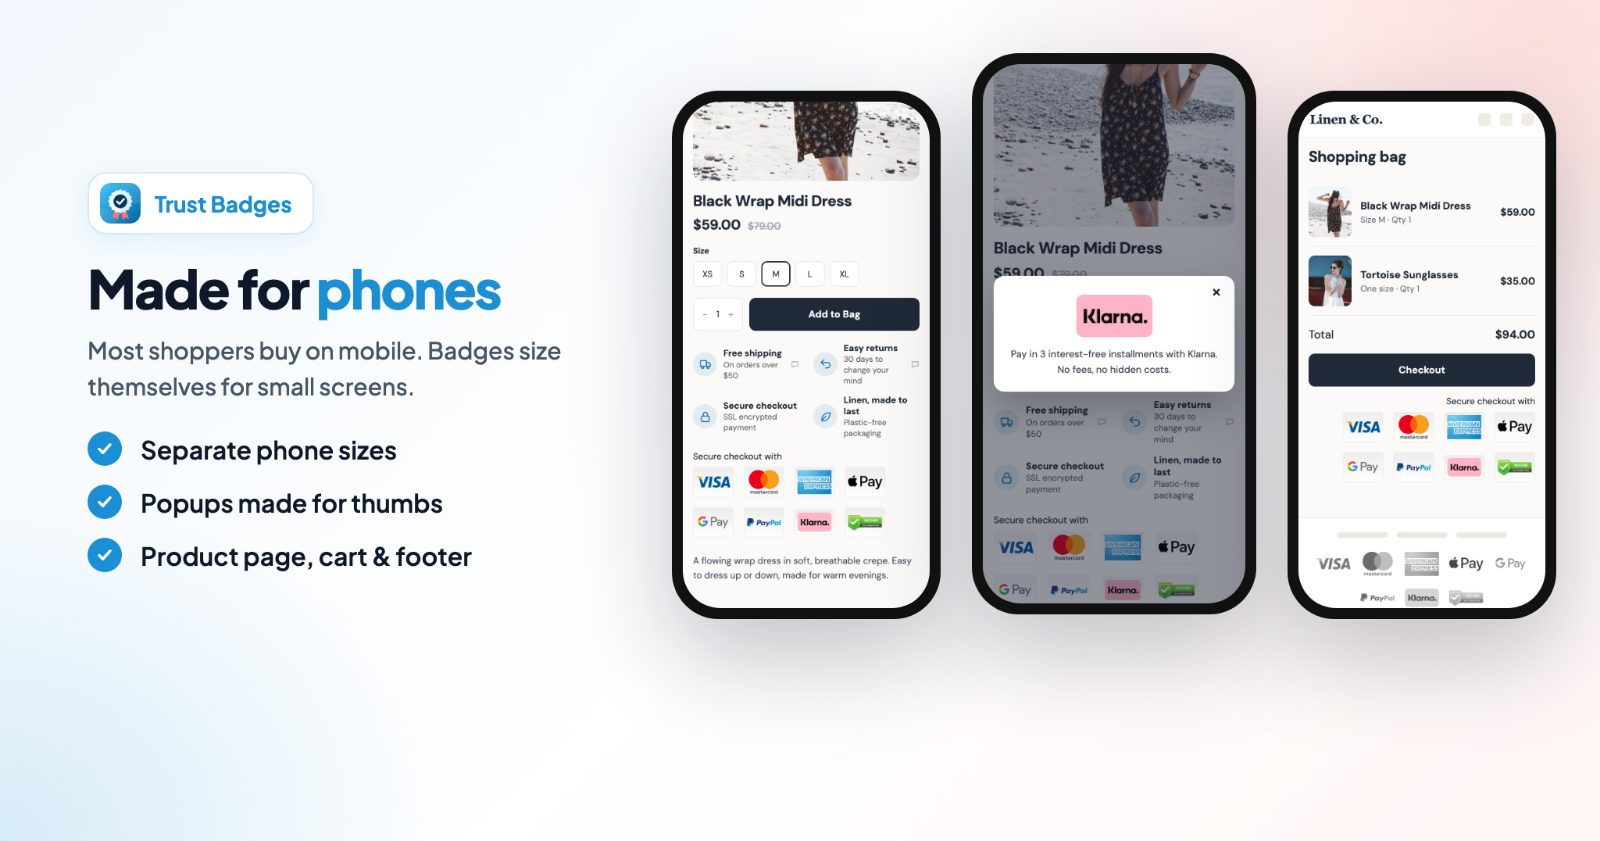
Under Heading, Show a heading adds a short line above the badges, such as "Secure checkout with", with its own size, color and alignment. All texts can be written in each of your store's languages. Check the phone view in the preview: the badges wrap to fit small screens.
When it looks right, click Enable. If you know CSS, Advanced takes your own styles for the badges.
Common setups
Payment logos at the buy button
One logos block under the Add to Cart button, filled with Suggest from my payment methods, with the heading "Secure checkout with".
Promises and payment logos together
A guarantee block (free shipping, easy returns, secure checkout) and a logos block, both under the Add to Cart button, guarantees first.
A last reminder in the cart
Copy your logos block and set its placement to Cart page: under the Checkout button.
Pay later, explained
If you offer Klarna, Afterpay or another pay-later method, add its logo with a popup text that says how it works, in your provider's words.
Carriers and seals in the footer
A small block on every page with the carriers you ship with (DHL, UPS, DPD...) and your own uploaded seals, in the One color style.
Questions
Which payment icons should I show?
The ones your customers can actually use at checkout. Showing familiar payment logos near the buy button builds trust.
Can I use my own badges?
Yes. Pick from the built-in library (payment methods, carriers, guarantees) or upload your own images under Your uploads.
Do badges work on phones?
Yes. Badges wrap to fit small screens, and logos have their own size on phones. Check the phone view in the live preview.
Can I add a heading like "Secure checkout"?
Yes. Each block can have an optional heading, translated into your store's languages.