How it works in short
dLocal is a payment provider for emerging markets. It works with the local payment methods shoppers in Latin America, Africa and Asia already use: cards, cash, bank transfers, mobile money and e-wallets. dLocal says it has more than 900 payment methods in over 40 countries.
The app adds dLocal to your checkout as a payment method. A shopper who chooses it is sent to dLocal's payment page, pays there with a method that works in their country, and comes back to your store. When dLocal approves the payment, the order is marked as paid.
- The country comes from the shopper's shipping address (or the billing address when there is no shipping address). dLocal uses it to show the right payment methods.
- The amount is the order total in your store's currency.
- Refunds and cancellations work from your orders: change the payment status and the app tells dLocal.
1. Get a dLocal merchant account
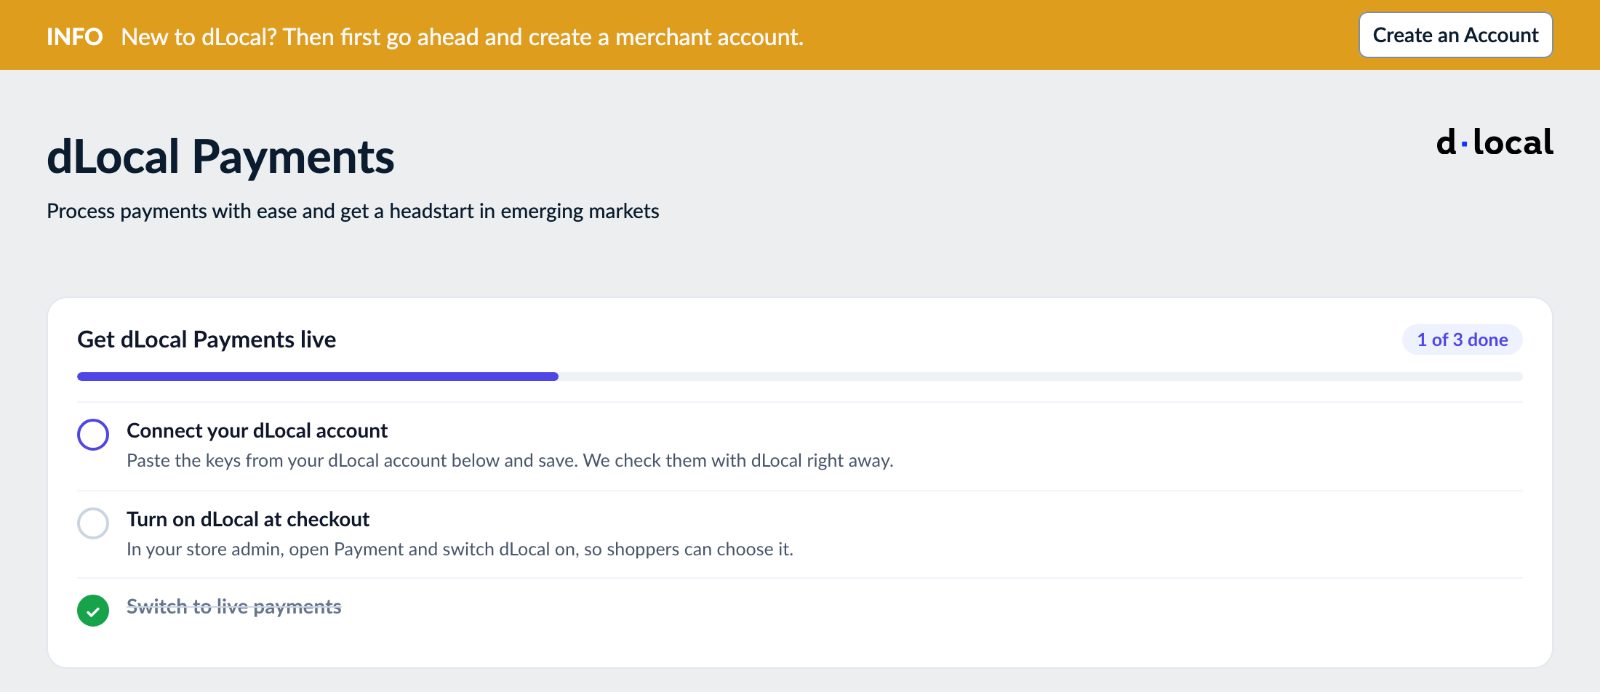
If you are new to dLocal, contact dLocal sales first to open a merchant account. The app's Create an Account button at the top takes you to the same page.
Then add the dLocal Payments app to your store and open it. The Get dLocal Payments live steps at the top tick themselves off as you go: connect your dLocal account, turn on dLocal at checkout, switch to live payments.
2. Add the Document ID field to your checkout
dLocal needs an ID document number for every payer, so your checkout has to ask for it. You do this once, with a custom checkout field in your store settings:
- In your store admin, go to Settings - Cart & Checkout and scroll to Custom checkout fields.
- Click Add custom fields, then Add field in the New field section.
- Set the field type to Single-line text and click Next Step.
- Set the field title to exactly Document ID. The app looks for this title, so keep it as it is.
- Set the field text to something like "Please provide your document ID (Passport) to continue with this payment method", and click Next Step.
- Show the field at the Payment information step and tick Required.
- Click Limit field display at checkout and, under Limit by payment method, choose dLocal. Shoppers who pay another way don't see the field.
- Click Create and Display at Checkout.
Without this field, a shopper who picks dLocal is sent back to checkout with the message "Document ID is not provided."
3. Copy your keys from the dLocal portal
Log in to the dLocal portal and open the integration settings. Copy the X_Login, the X_trans_key and the Secret key.
4. Paste them into the app and save
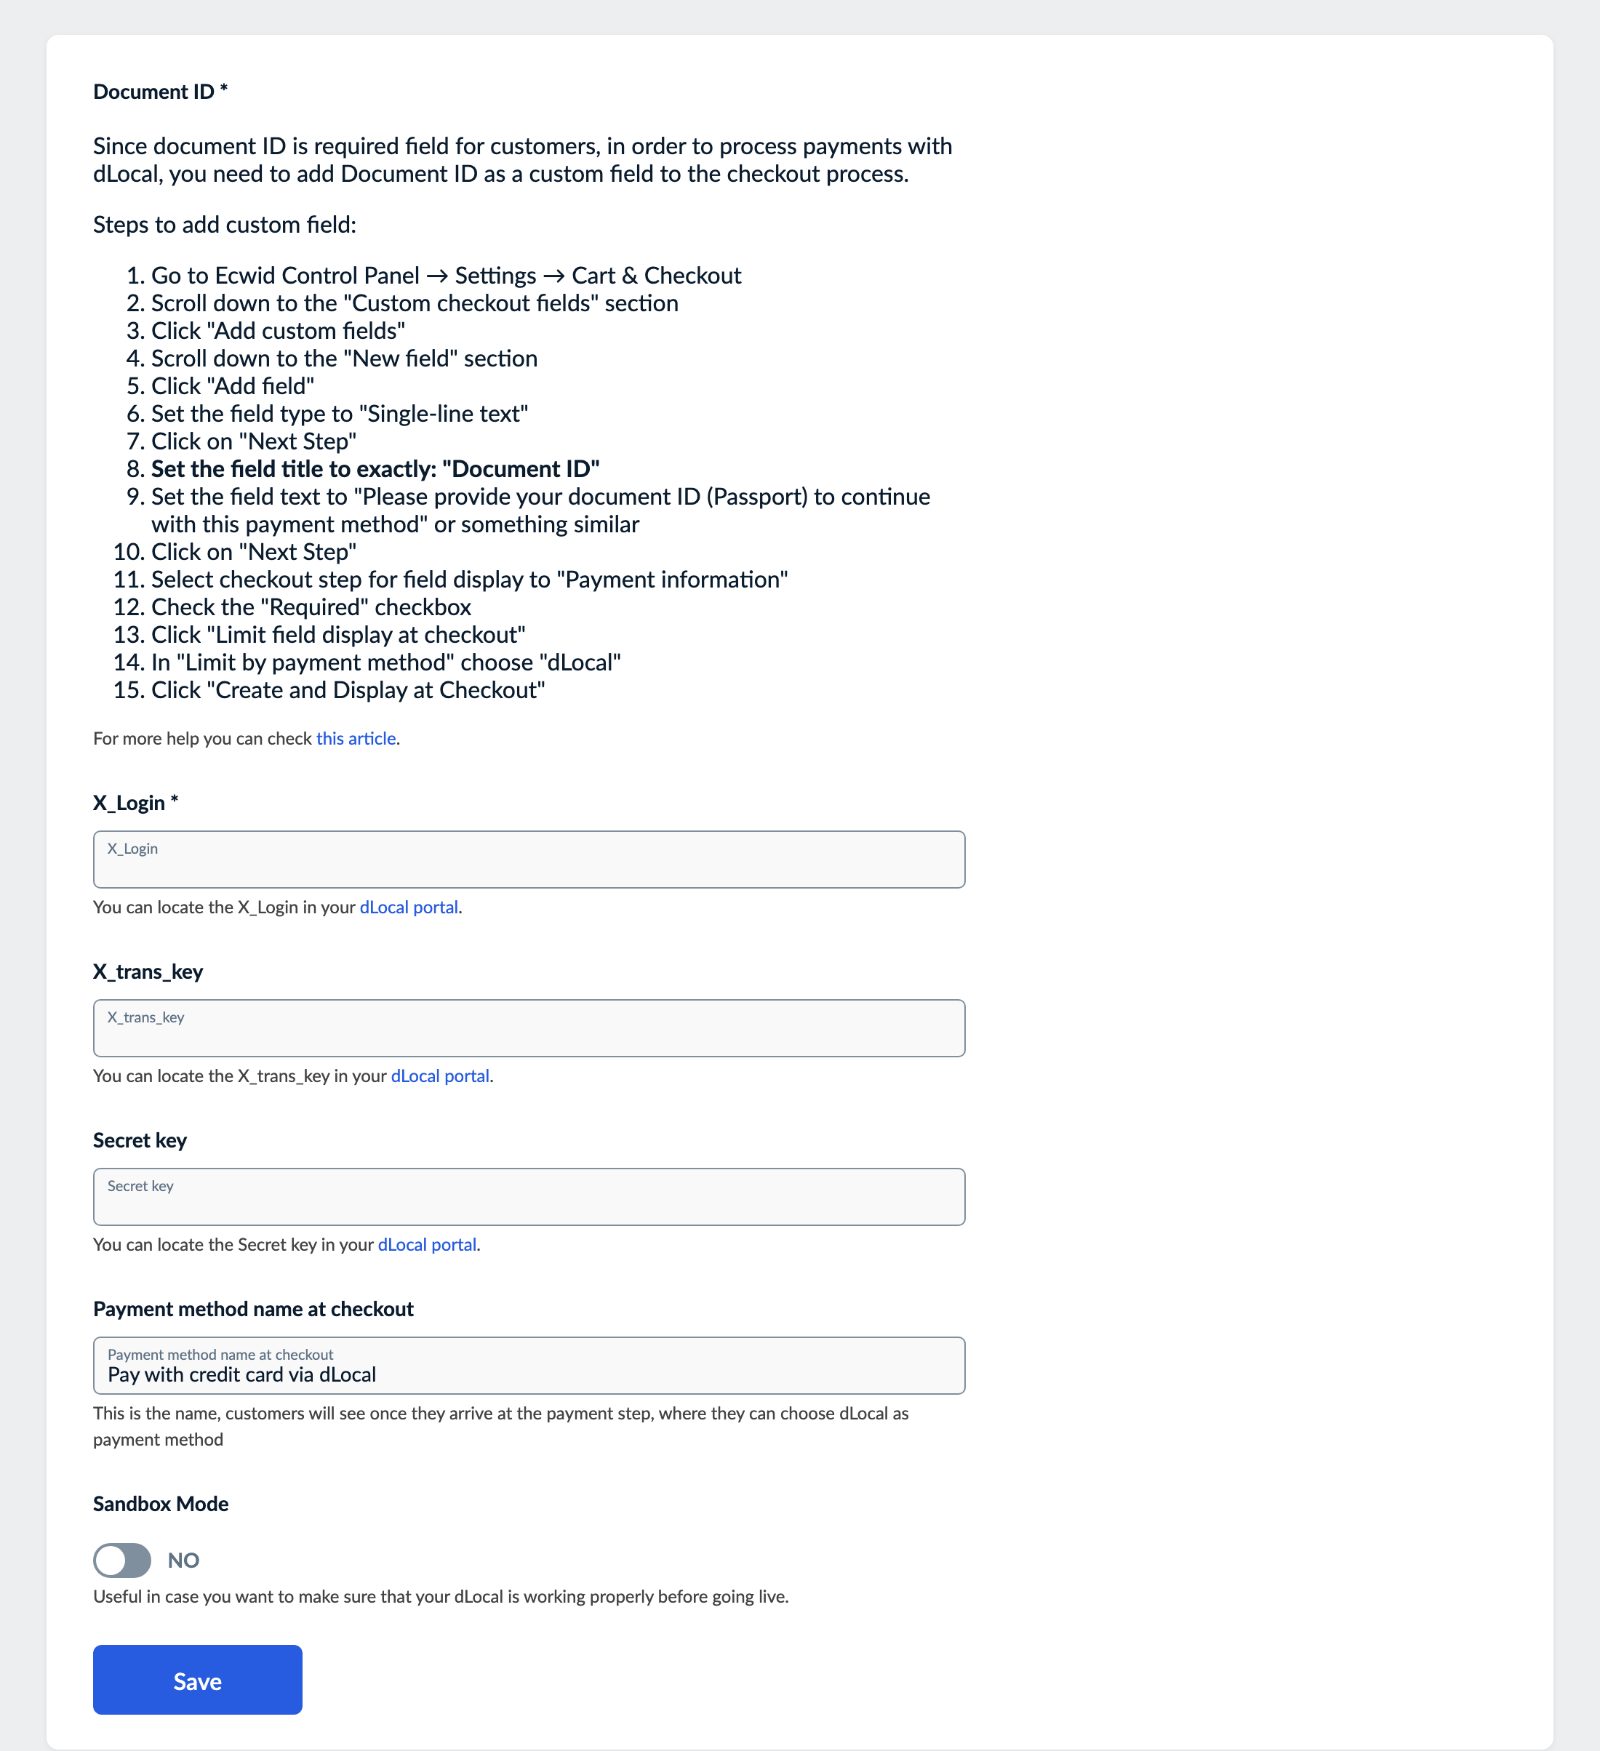
In the app, fill in:
- X_Login: required.
- X_trans_key
- Secret key
- Payment method name at checkout: the name shoppers see at the payment step. It is "Pay with credit card via dLocal" until you change it.
- Sandbox Mode: on for dLocal sandbox keys, off for live keys.
Click Save. You see "Changes successfully saved!" under the form.
5. Turn on dLocal at checkout
In your store admin, open the Payment settings and switch dLocal on, so shoppers can choose it. The Open payment settings button in the app's steps takes you there.
6. Make a test order, then go live
With Sandbox Mode on and your sandbox keys saved, place an order, fill in the Document ID, choose dLocal and pay on dLocal's sandbox page. Back in your store, check that the order is marked as paid. Then save your live keys with Sandbox Mode off, and real payments can come in.
If dLocal hasn't confirmed the payment yet when the shopper comes back, the order waits as awaiting payment. The app updates it when dLocal sends its notification.
Common setups
A store that sells to Latin America
Offer dLocal next to your card payment method. Shoppers from countries dLocal covers can pay with the local methods they know, and the Document ID field shows only to shoppers who choose dLocal, because it is limited to that payment method.
A clear name at checkout
The default name talks about credit cards only. If you want shoppers to know they can pay with local methods too, change Payment method name at checkout to something like "Card or local payment methods (dLocal)".
Prices in the shopper's currency
dLocal charges the order total in your store currency. To show your prices in each shopper's own currency while they browse, add the Ultimate Currency Converter (see the Currency Converter guide).
Compare before you choose
Not sure dLocal is the right provider for your store? See our payment gateways compared.
Questions
How do I refund a dLocal order?
Change the paid order's payment status to Refunded. The app asks dLocal to refund it, so you don't need to log in to the dLocal portal.
How do I cancel an order that isn't paid yet?
Change its payment status from awaiting payment to Cancelled. The app cancels the dLocal payment.
Why does the checkout ask for a Document ID?
dLocal needs the payer's ID document number to process the payment. The field you add in step 2 collects it, and the app sends it to dLocal with the payment.