How it works in short
Splitit (people also search for it as "Split it") lets shoppers pay for a purchase with an existing credit card and split the cost into monthly payments. There is no extra registration or application for the shopper: they use the card they already have.
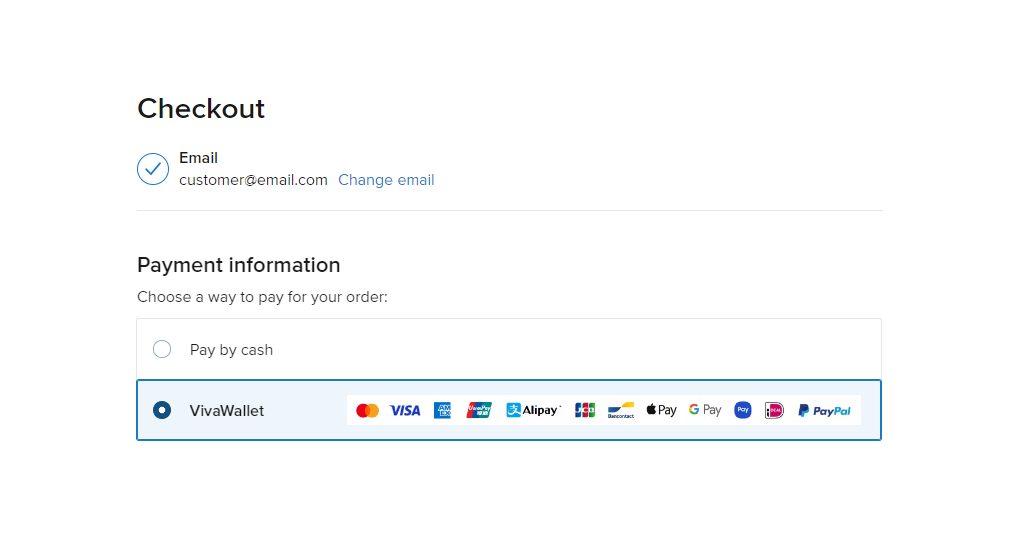
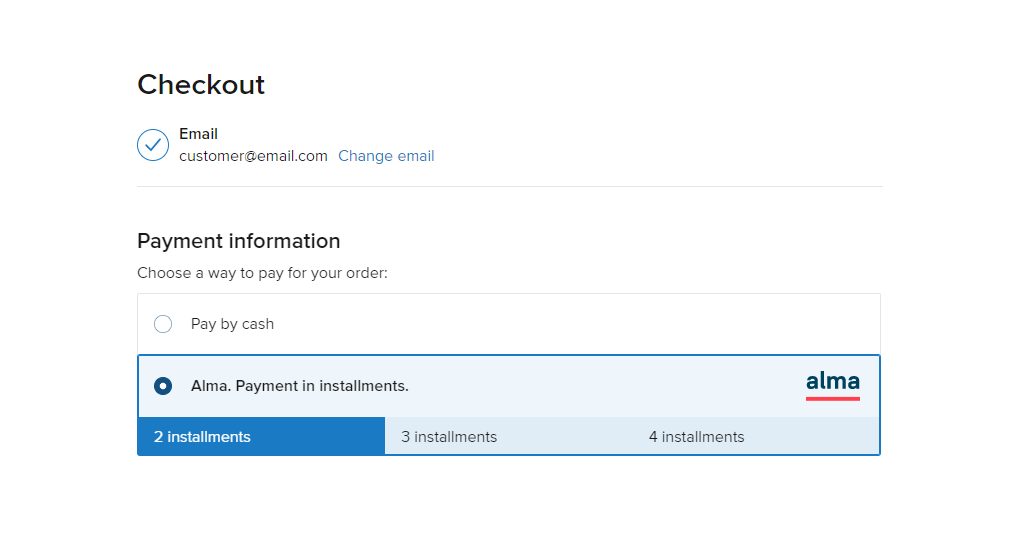
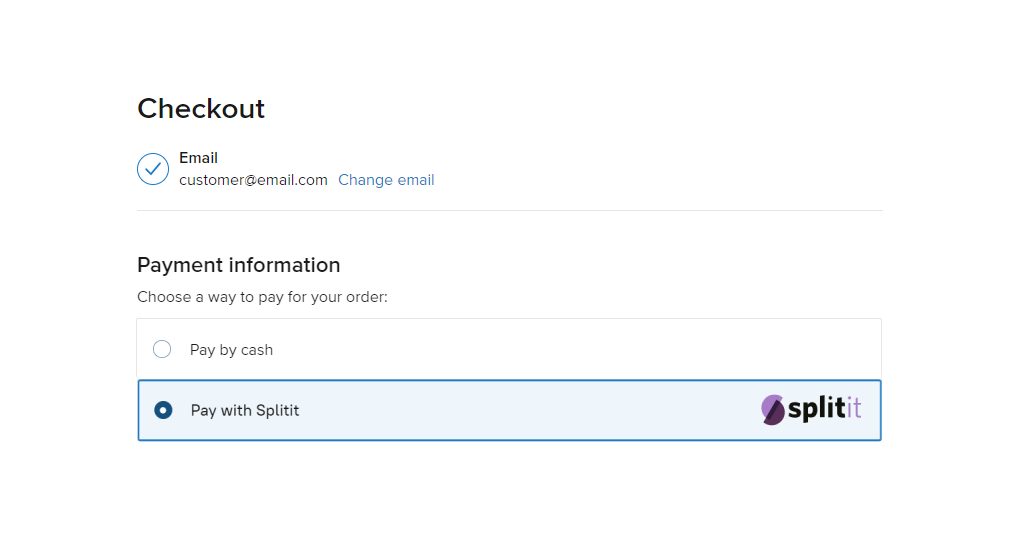
- The app adds Splitit as a payment method at your checkout, with the Splitit logo next to the name.
- A shopper who chooses it is sent to Splitit's own payment page to enter the card and confirm the plan. The app asks Splitit for a plan of 3 installments.
- When Splitit confirms the payment, the shopper comes back to your store, the order is marked Paid and the Splitit plan number is added to the order as Splitit Payment ID.
- If the shopper cancels or the payment fails, they return to your checkout and can choose another payment method.
1. Create your Splitit merchant account
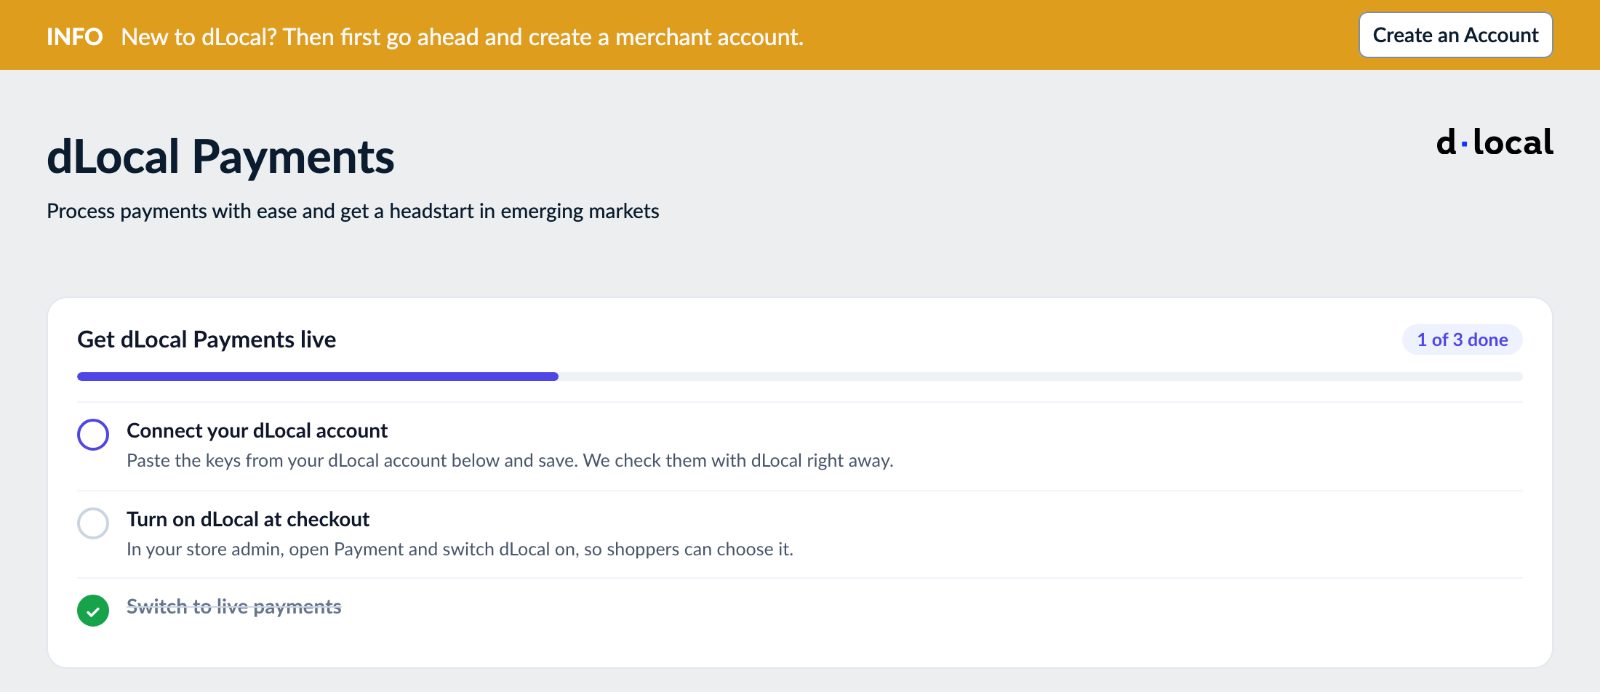
New to Splitit? First create a Splitit merchant account. The app shows the same Create an Account button at the top until your keys are saved.
Then add the Splitit app to your store and open it. The Get Splitit live steps at the top tick themselves off as you go: Connect your Splitit account, Turn on Splitit at checkout, Switch to live payments.
2. Copy your three keys from the Splitit dashboard
The app needs three values. The note under each field in the app links to the right page of your Splitit dashboard:
- Client Id: on the Splitit credentials page, the field is called Username.
- Client secret: on the same page, under Active Passwords. If you don't have one, generate a new one.
- Terminal API Key: on the gateway credentials page, under Payment Terminal API Key.
Splitit has a sandbox (for tests) and a production account, each with its own keys. Use the sandbox keys first if you want to try it before going live.
3. Paste the keys into the app and save
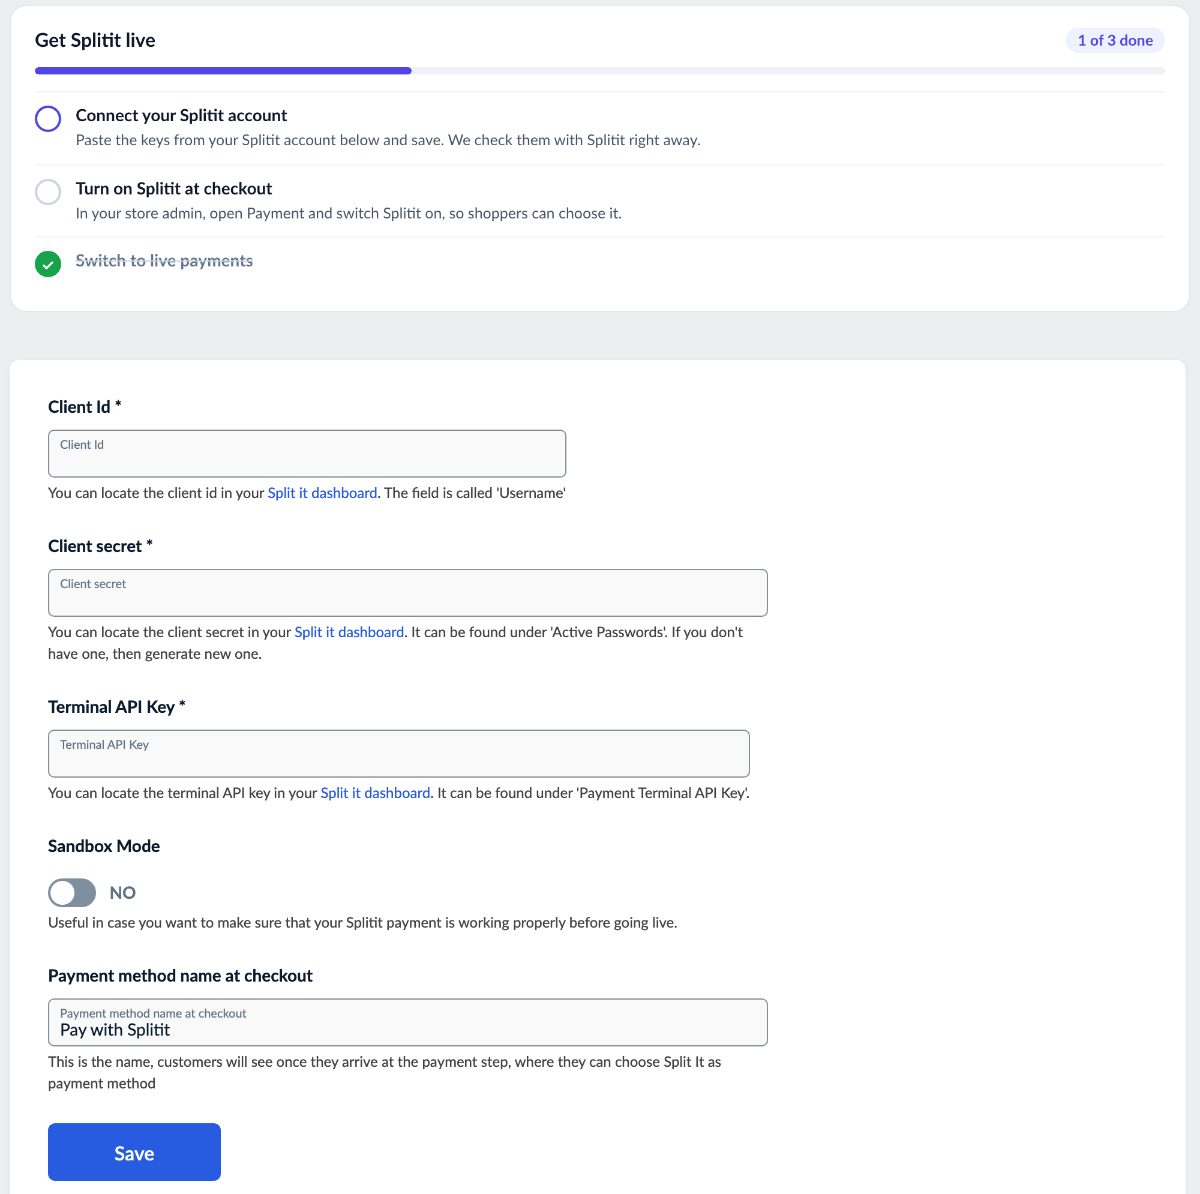
Fill in:
- Client Id, Client secret and Terminal API Key: all three are required.
- Sandbox Mode: yes for sandbox keys, no for production keys.
- Payment method name at checkout: the name shoppers see at the payment step. The default is Pay with Splitit.
Click Save. The app saves your settings and checks your Client Id and Client secret with Splitit right away. The message under the form says what it found:
- "Saved. Splitit accepted your keys." - you are connected.
- With sandbox keys and Sandbox Mode on, the message reminds you to switch sandbox mode off and use your production keys to take real payments.
- Production keys while Sandbox Mode is on (or sandbox keys while it is off): the message says so. Change Sandbox Mode or the keys and save again.
- "Splitit refused your Client ID and Client Secret": copy them again from the Splitit merchant portal.
The check covers the Client Id and Client secret. The Terminal API Key is used when a shopper pays, so copy it carefully and make the test order in step 5.
4. Turn on Splitit at checkout
In your store admin, open the Payment settings and switch Splitit on, so shoppers can choose it. The Open payment settings button in the app's steps takes you there. At the payment step shoppers then see your Payment method name at checkout with the Splitit logo, as in the picture at the top.
5. Make a test order, then go live
- With your sandbox keys saved and Sandbox Mode on, add a product to the cart and go through checkout.
- Choose Splitit at the payment step. You are sent to Splitit's payment page: pay with a test card from your Splitit sandbox.
- Check that you land back in your store and that the order shows up as Paid, with the Splitit Payment ID on it.
- Then paste your production keys, set Sandbox Mode to no and save. The Switch to live payments step ticks off and real payments can come in.
Common setups
A clear name at checkout
Change Payment method name at checkout to say what shoppers get, for example "Pay monthly with your credit card (Splitit)".
A store in another language
Write the Payment method name at checkout in your store's language. The Splitit logo is shown next to it either way.
Splitit next to a buy now, pay later option
Splitit uses the shopper's own credit card. Shoppers who prefer a buy now, pay later account can use Zip (Australia, Canada, New Zealand and the United States) or Alma (stores in EUR) at the same checkout. See which payment app fits which store.
Show that you take installments
Add payment badges to your product pages with Trust Badges & Payment Icons, so shoppers know about the payment options before checkout.
Questions
What do shoppers need to pay with Splitit?
An existing credit card. There are no additional registrations or applications: they enter the card on Splitit's payment page and confirm the plan.
Where do I find the Client Id?
In your Splitit dashboard, on the credentials page. The field there is called Username.
How do I refund a Splitit order?
Refund it in your Splitit merchant account. Changing the order's status in your store doesn't change the Splitit plan.
The order didn't become paid. What happened?
The app marks the order as paid only after Splitit confirms the payment. If the shopper cancelled on the Splitit page, or the payment failed, they are sent back to your checkout and the order isn't paid. Also check that Sandbox Mode matches your keys.
Where can I learn more about Splitit?
Splitit's FAQ for businesses answers questions about your Splitit account.