How it works in short
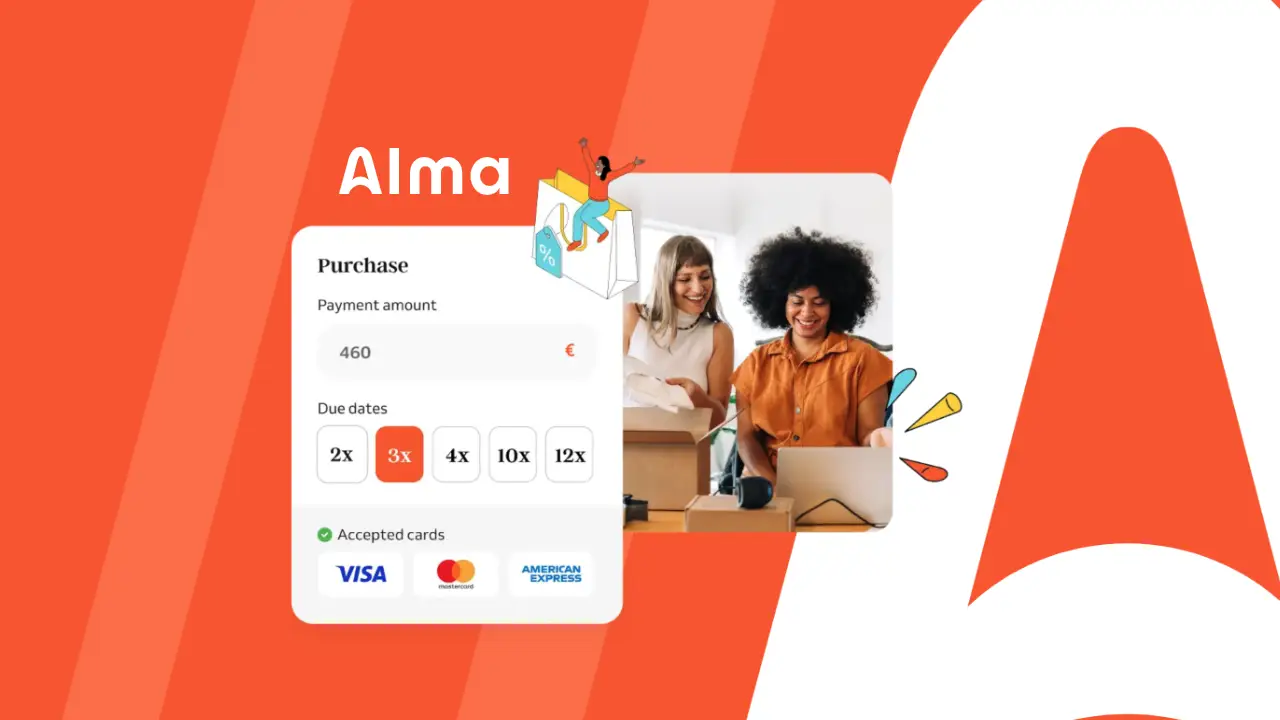
Alma is a split payment service: shoppers pay for an order in installments, and manage their spending the way they want. The app adds Alma to your checkout as a payment method.
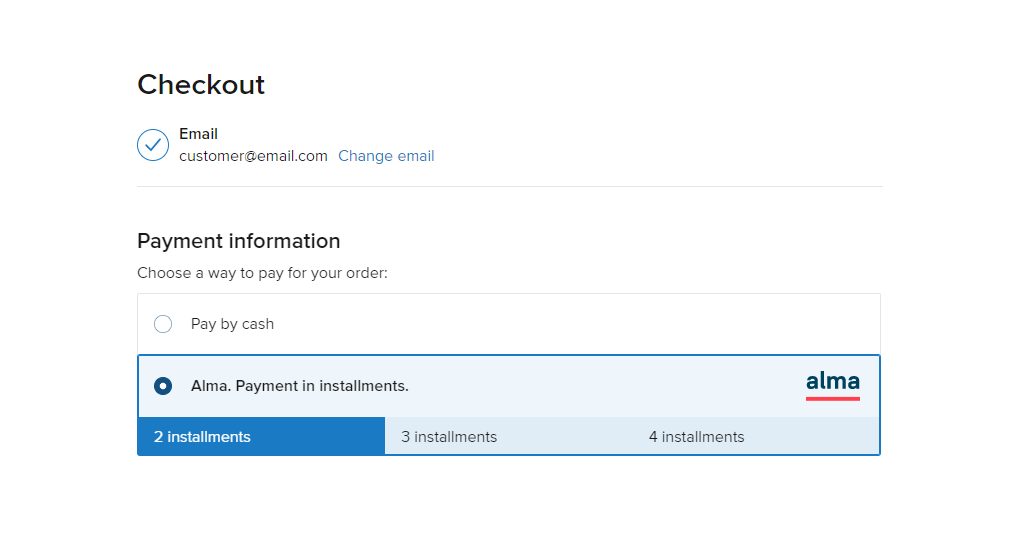
- At checkout: shoppers choose Alma and pick 2, 3 or 4 installments (the plans you turn on). They finish the payment on Alma's page, in your store's language, and come back to your store.
- Paid orders: the app asks Alma if the payment went through before it marks the order Paid, and adds the Alma payment number to the order as Alma Payment ID.
- On product pages: an optional Alma widget under the price shows what the product costs in installments.
One rule before you start: Alma works only in euros, so your store's default currency must be EUR. Alma shows at checkout for orders from 50 EUR up to your Maximum order amount (2000 by default). For other orders it is hidden.
1. Create your Alma account
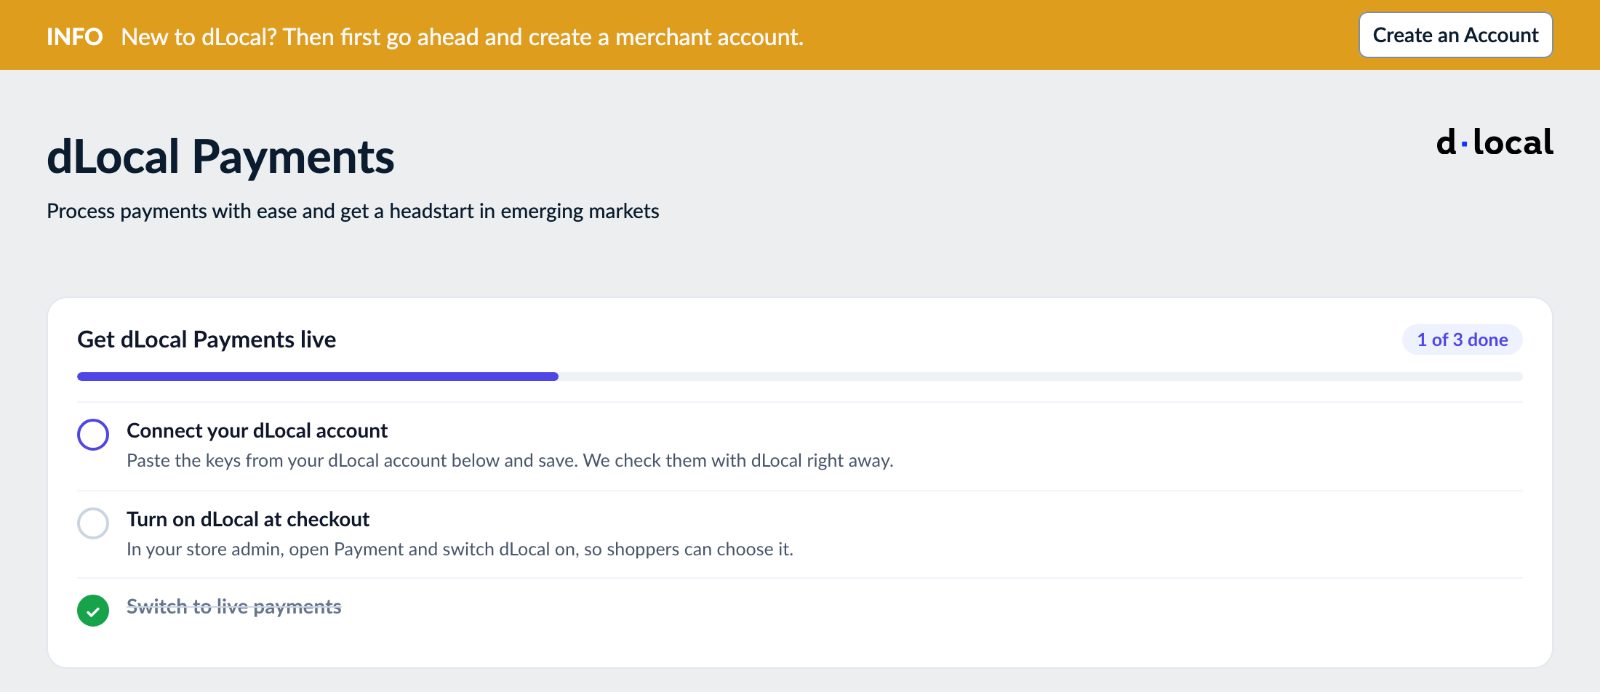
New to Alma? First create an Alma account (the app's Create an Account button opens the same page). Then add the Alma Payment Gateway app to your store and open it. The Get Alma Payment Gateway live steps at the top tick themselves off as you go: Connect your Alma account, Turn on Alma at checkout, Switch to live payments.
2. Copy your keys from the Alma dashboard
Log in to your Alma dashboard and open Settings - API keys. Copy:
- your Merchant ID,
- your live API key: it starts with sk_live_,
- your test API key, if you want to test first: switch the Alma dashboard to sandbox mode, the key starts with sk_test_.
3. Paste them into the app and save
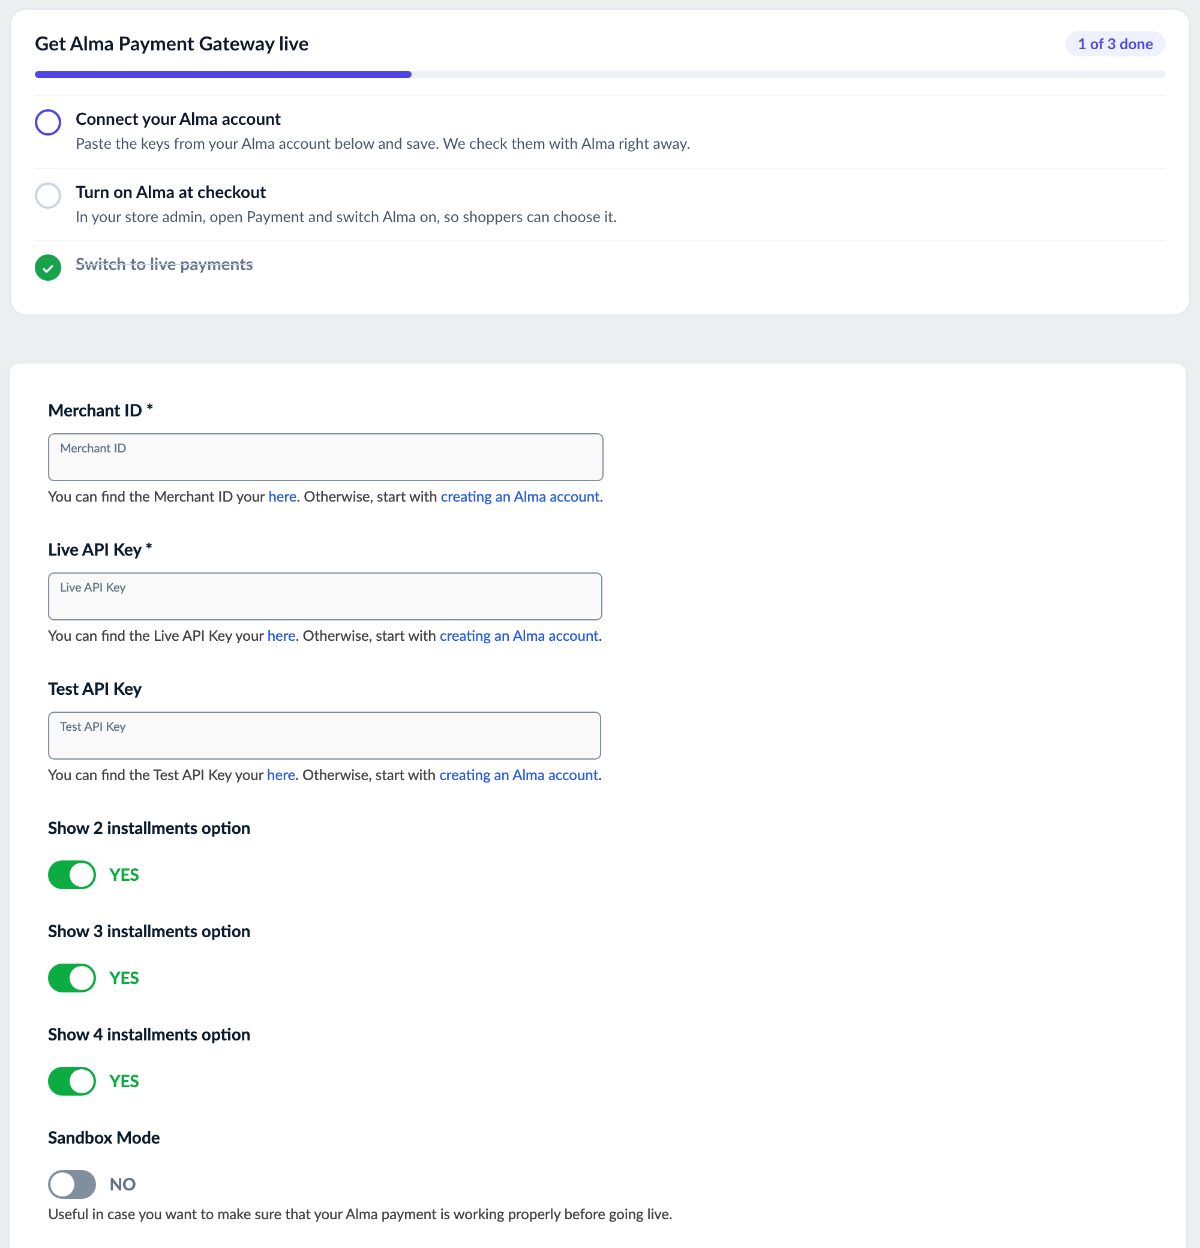
- Merchant ID: required.
- Live API Key: required for real payments.
- Test API Key: required while Sandbox Mode is on.
- Sandbox Mode: yes to test with your test key, no for live payments.
Click Save. The app checks the key you need right now with Alma and shows the result under the form:
- "Saved. Alma accepted your key." - you are connected. In sandbox mode the message reminds you to switch sandbox mode off and add your live key to take real payments.
- A live key (sk_live_) in the Test API Key field, or a test key (sk_test_) in the Live API Key field: the message tells you which one to move, or to change Sandbox Mode.
- "Alma refused your ... API key": copy it again from the Alma dashboard - Settings - API keys.
4. Choose the installment plans
Under the keys, Show 2 installments option, Show 3 installments option and Show 4 installments option are all on by default. Turn off the plans you don't want to offer. Shoppers see the plans that are on as buttons under Alma at the payment step, and the plan they click is the one Alma sets up.
5. Show the Alma widget on product pages
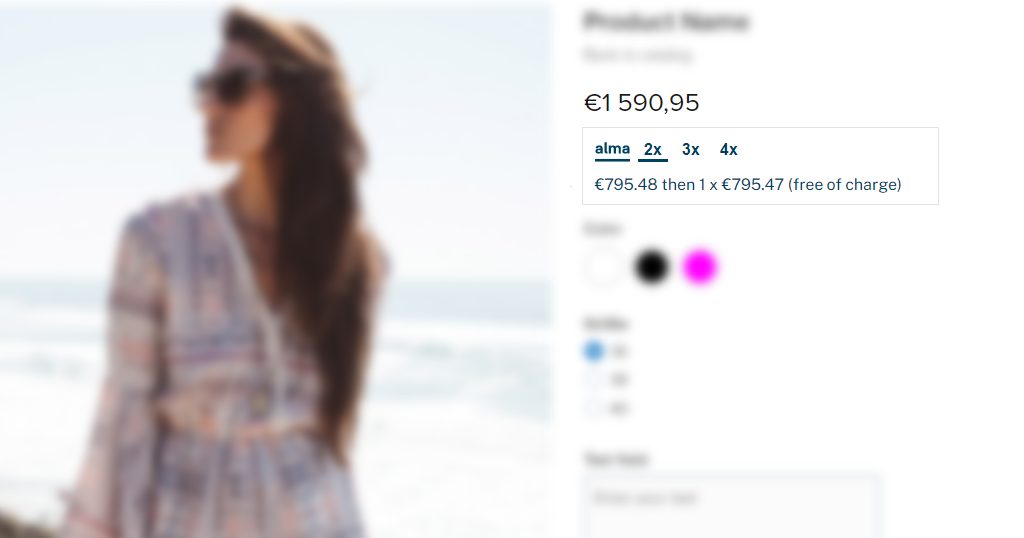
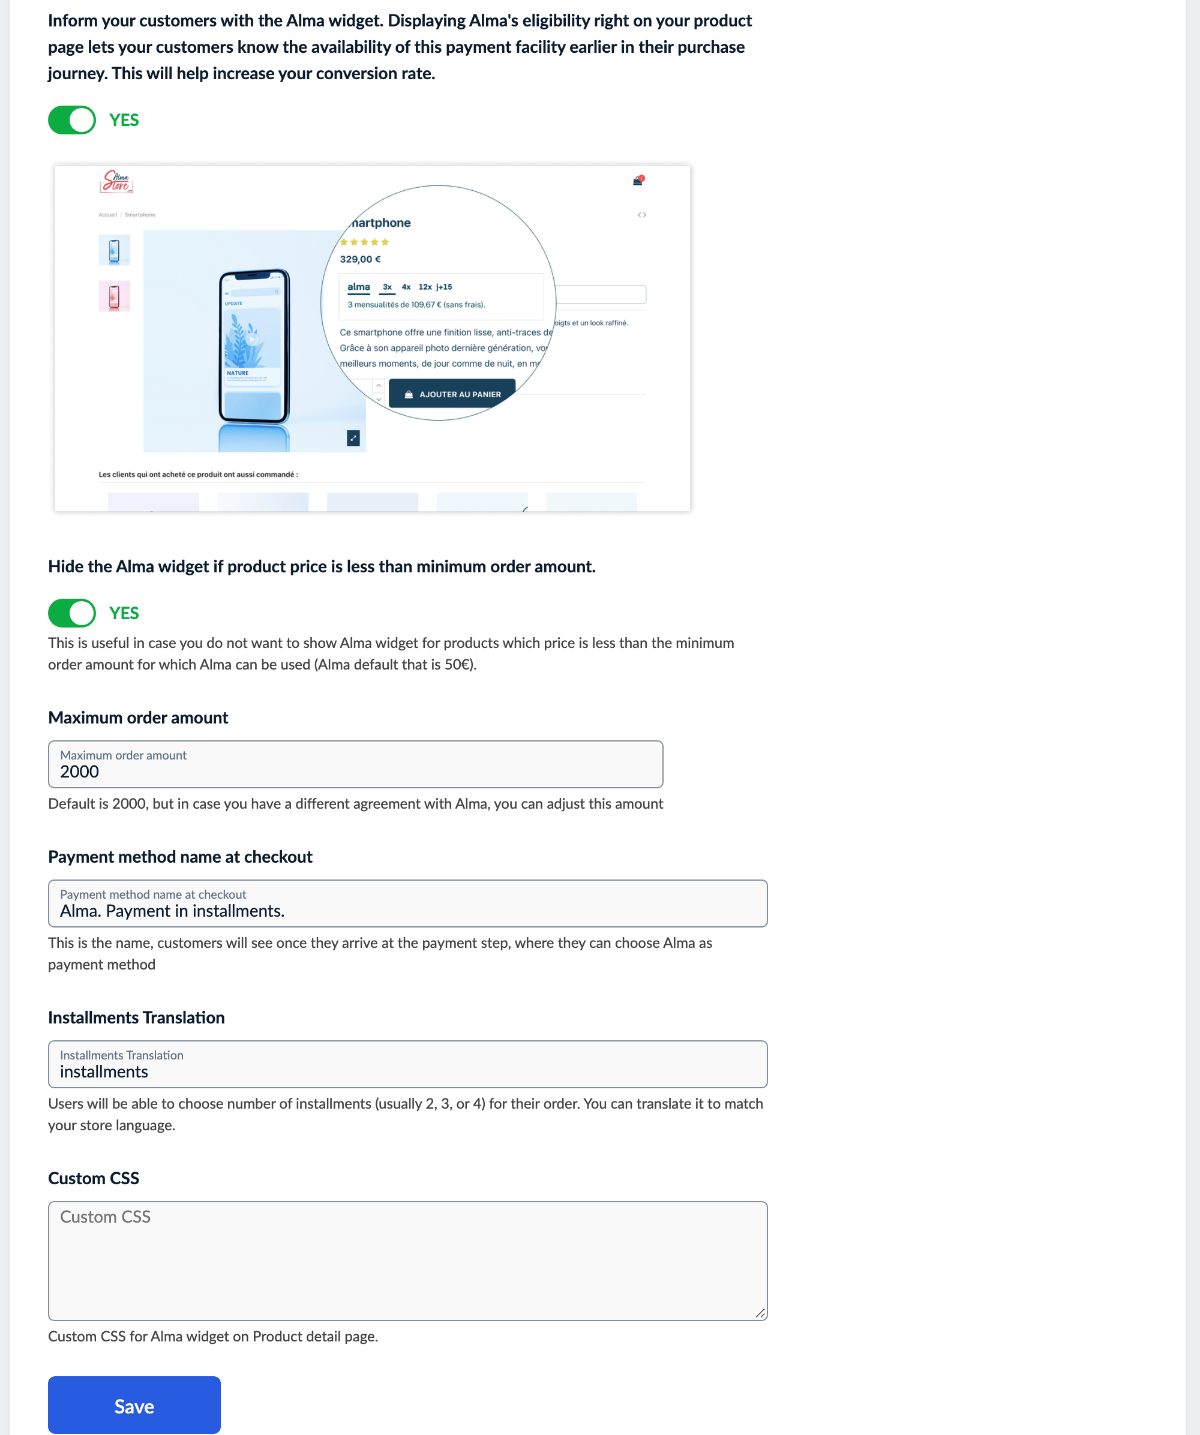
Inform your customers with the Alma widget (on by default) shows Alma's eligibility right under the product price, so shoppers know they can pay in installments before they reach checkout. Shoppers click 2x, 3x or 4x to see the payments for that plan. The widget shows the plans you turned on in step 4 and updates when a product option changes the price.
- Hide the Alma widget if product price is less than minimum order amount. (on by default): no widget on products that can't be paid with Alma on their own, below 50 EUR.
- Custom CSS: your own styles for the Alma widget on product pages.
6. Set the checkout texts and the maximum
- Maximum order amount: 2000 by default. If you have a different agreement with Alma, enter your amount; Alma is hidden at checkout above it.
- Payment method name at checkout: the name at the payment step, Alma. Payment in installments. by default, with the Alma logo next to it.
- Installments Translation: the word on the plan buttons ("2 installments"). Translate it to your store's language, for example "fois" in French gives "3 fois".
Click Save again after changing these options.
7. Turn on Alma at checkout and make a test order
- In your store admin, open the Payment settings and switch Alma on. The Open payment settings button in the app's steps takes you there.
- With Sandbox Mode on and your test key saved, place an order of at least 50 EUR, choose Alma, pick a plan and pay on Alma's page with Alma's test details.
- Check that you land back in your store and that the order is Paid with the Alma Payment ID on it.
- Then add your live key, set Sandbox Mode to no and save. Real payments can come in.
Common setups
A French store
Set Payment method name at checkout to "Alma. Paiement en plusieurs fois." and Installments Translation to "fois". Alma's own page and widget follow your store's language.
Only pay in 3 or 4
Turn off Show 2 installments option. The checkout buttons and the product page widget then show only 3 and 4 installments.
A higher limit from Alma
If Alma agreed to a higher maximum for your account, enter it in Maximum order amount, so larger orders can be paid with Alma too.
Card payments next to Alma
Most euro stores also take normal card payments, for example with PayPlug or Viva Wallet. See which payment app fits which store.
Questions
Why don't I see Alma at checkout?
Check three things: your store's currency is EUR, the order total is between 50 EUR and your Maximum order amount, and Alma is switched on in your store's Payment settings.
Why isn't the Alma widget on every product page?
With Hide the Alma widget if product price is less than minimum order amount. on, products below 50 EUR or above 2000 EUR don't show it, because they can't be paid with Alma on their own. The widget also shows only in stores whose currency is EUR.
What if the shopper doesn't finish the payment?
The order is marked paid only when Alma says the payment went through. If it wasn't completed, the shopper returns to your checkout with "The payment with Alma was not completed, please try again." and can choose another payment method.
How do I refund an Alma order?
Refund it in your Alma dashboard. Changing the order's status in your store doesn't change the Alma payment.
Does Alma work with other currencies?
For now, Alma supports only EUR.